
4. Task by yourself – „Gift Yourself a Trophy“
Task Completion Steps
Step 1: Create the Base
- Insert a red box from the Basic Shapes Library.
- Adjust its dimensions:
- Length: 100 mm
- Width: 100 mm
- Height: 30 mm
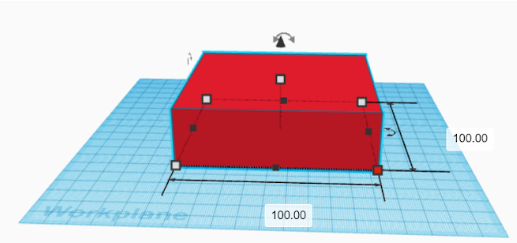
Figure 21. Modeling the Base
Step 2: Add the First Ring
- Insert a ring shape.
- Set its dimensions:
- Length: 40 mm
- Width: 40 mm
- Align it in the center of the red base.
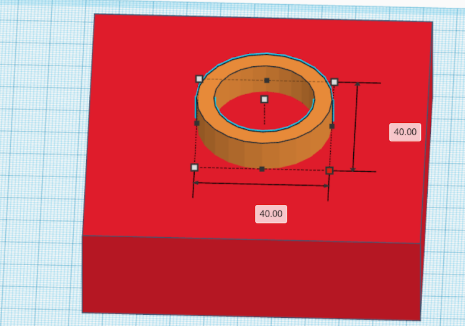
Figure 22. Base Ring Placement
Step 3: Create the Trophy Stem
- Insert a cylinder.
- Adjust its dimensions:
- Length: 30 mm
- Width: 30 mm
- Height: 100 mm
- Place it on top of the base inside the ring.
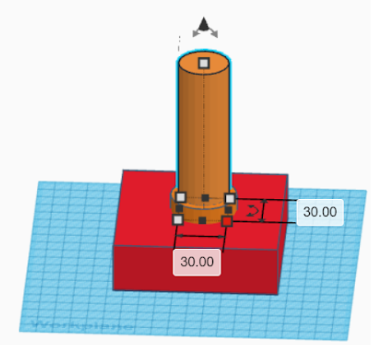
Figure 23. Forming the Trophy Stem
Step 4: Add the Second Ring
- Insert a blue ring.
- Adjust its dimensions:
- Length: 50 mm
- Width: 50 mm
- Height: 30 mm
- Position it on the cylinder, 80 mm from the ground.
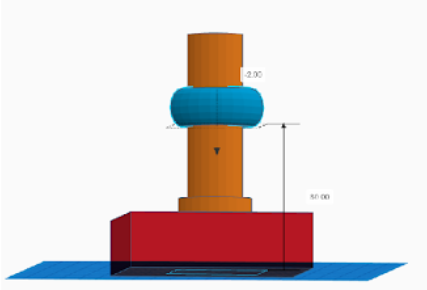
Figure 24. Adding the Second Ring
Step 5: Create the Trophy Cup
- Insert a half-sphere and rotate it 180°.
- Adjust its dimensions:
- Length: 100 mm
- Width: 100 mm
- Height: 50 mm
- Place it on top of the cylinder, 96 mm from the ground.
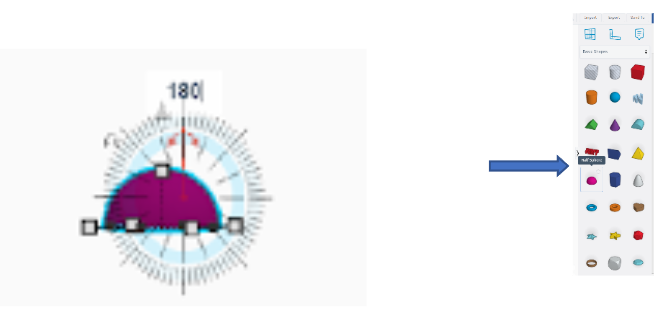
Figure 25. A hemisphere loaded and rotated 180 degrees
View from Above:
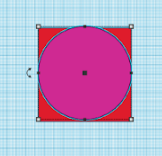
Figure 26. Cup viewed from above
View from Front:
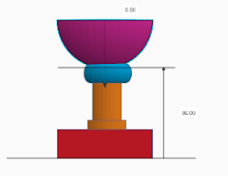
Figure 27. Cup viewed from front
Step 6: Hollow Out the Cup
- Copy the half-sphere using CTRL+C -> CTRL+V.
- Adjust the copied half-sphere’s size:
- Length: 80 mm
- Width: 80 mm
- Position it inside the larger half-sphere.
- Change the material to "HOLE" to create an empty space.
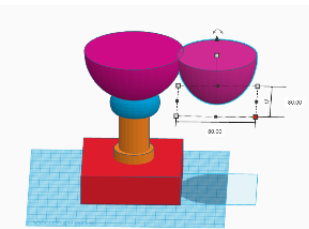
Figure 28. Creating the Inner Half-Sphere by Copying the Outer Half-Sphere
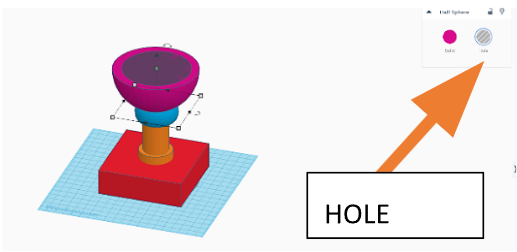
Figure 29: Changing the Inner Half-Sphere Material
Step 7: Add a Nameplate
-
Insert a text object and write your name.
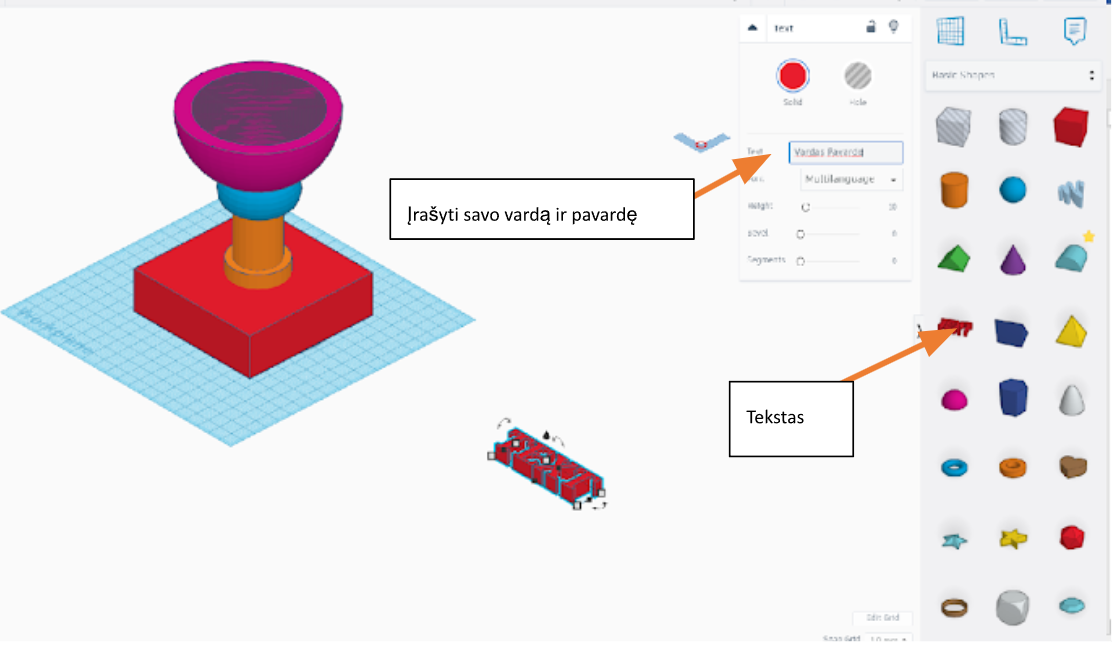
Figure 30. Creating Raised Letters
-
Rotate the text 90°.
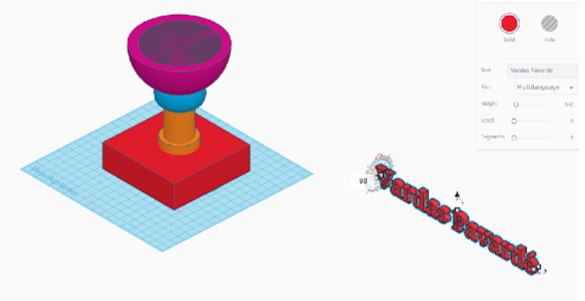
Figure 31. Rotating Text 90°
- Resize the text to fit on the side of the red base.
- Move and embed it slightly into the box.
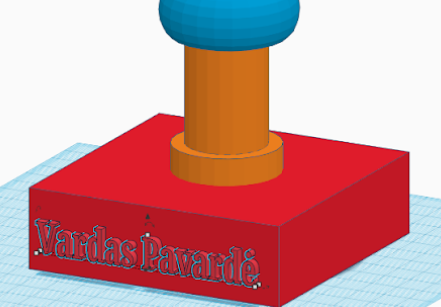
Figure 32. Positioning the Name on the Base
Step 8: Finalizing the Model
-
Select all objects and group them together.
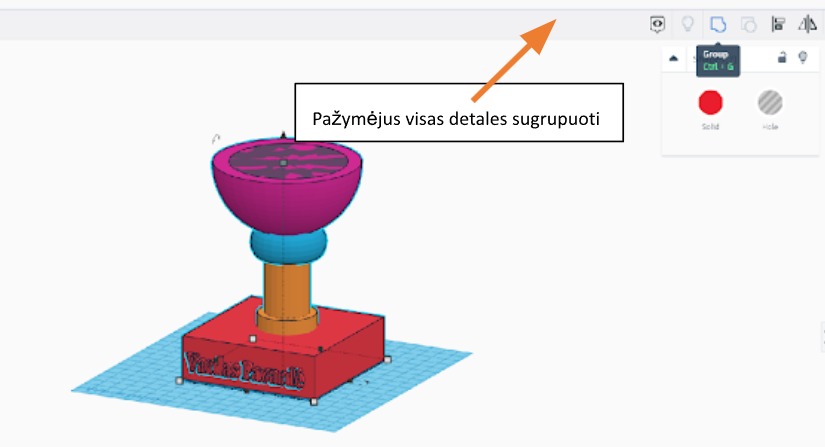
Figure 33. Grouping All Components
Step 9: Export for 3D Printing
-
Click "Export" and choose ".STL" format.
-
Save the STL file to your computer.
The trophy is now ready for 3D printing! 🏆
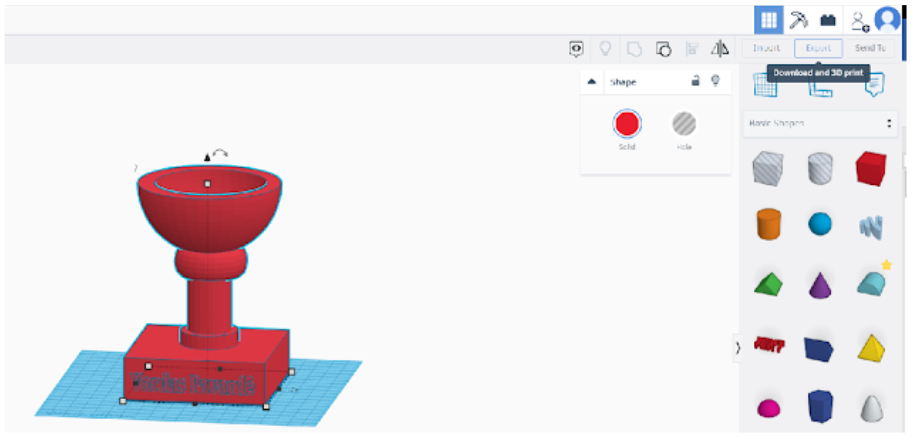
Figure 34. Exporting the Model